I had only planned on doing one recipe for 4th of July this year. LOTS going on here at The Veg Life! Anyway, because of this, I wanted it to be a showstopper. And let me start of by stating that these Independence Day Tri-Color Cookies are a special occasion dessert. Definitely not something I indulge in daily 🙂
Drawing from my all-time favorite Italian Tri-Color Cookies (you can see my vegan version here), I thought of doing them in another color palette. Traditionally, the Italian Tri-Colors are of the Italian flag, red, white and green. So it only made sense that this version would be red, white and blue for the American flag!
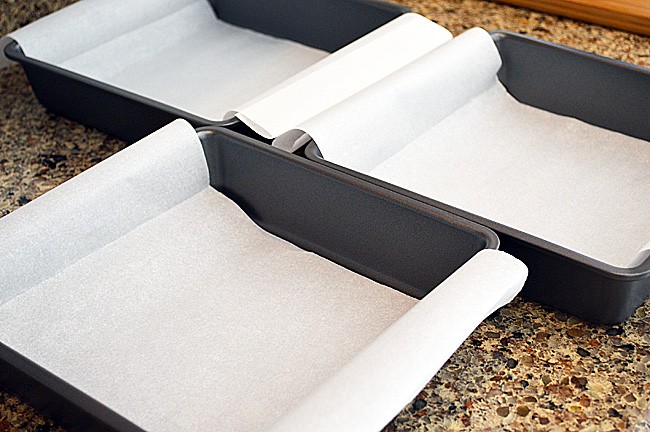
Mine is a white cake, tinted red and blue. The measurements of the batter are done so that you have enough for 3 thin layers in an 8″ x 8″ square pan. I picked up three of the pans really inexpensively. If you don’t have three, you’ll just have to bake the layers one at a time. Parchment makes life soooooo much easier for removing the finished cakes.
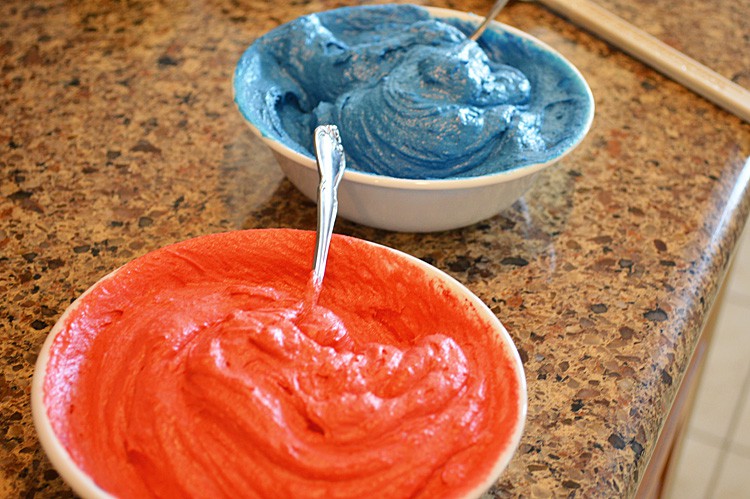
If you are looking for truly vegan food coloring, you can find those on Amazon. India Tree is the brand name many vegans are familiar with, but tend not to be as vibrant in color. I think Wilton makes some that are too. However, I have been in contact with and have been assured by Americolor that their colors are completely vegan-friendly. Gel does tend to work best. Not made with any animal-derived ingredients nor tested on animals.
Since every “drop” of food coloring would be different each time, I am not including a measurement for that. Just use your judgement. The red won’t look red until it’s baked, but be sure it’s dark enough as batter that it won’t come out pink after baking.
Here’s how they turned out. Don’t stress over any browned edges. We’ll be trimming the edges before finishing. Let them cool in their pans. Completely.
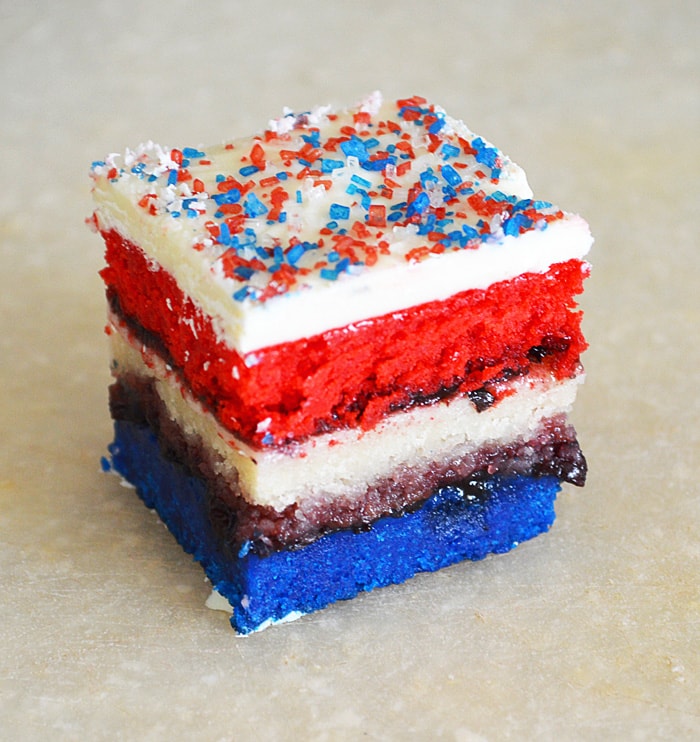
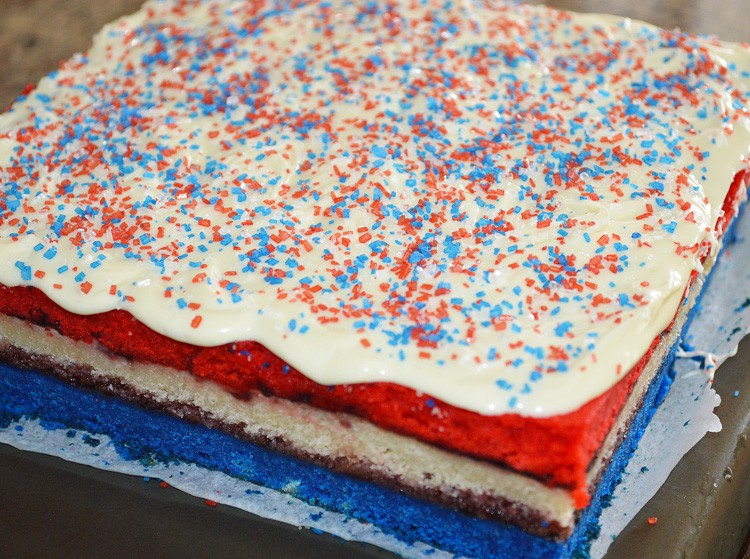
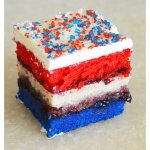
About the layering process. Blue is your base. Top with any red jam, I used cherry. Follow with your white layer and top that with the blueberry jam. Lastly, the red layer. Pay attention now, this is an important step! 🙂 Cover the top with plastic wrap and taking one of your pans, place it on top and give a light squeeze. Leave it there, put a heavy can on top, place in the refrigerator and let it stay that way for several hours (or overnight). This allows the layers to join, the jam seeps into the layers. It just makes it better.
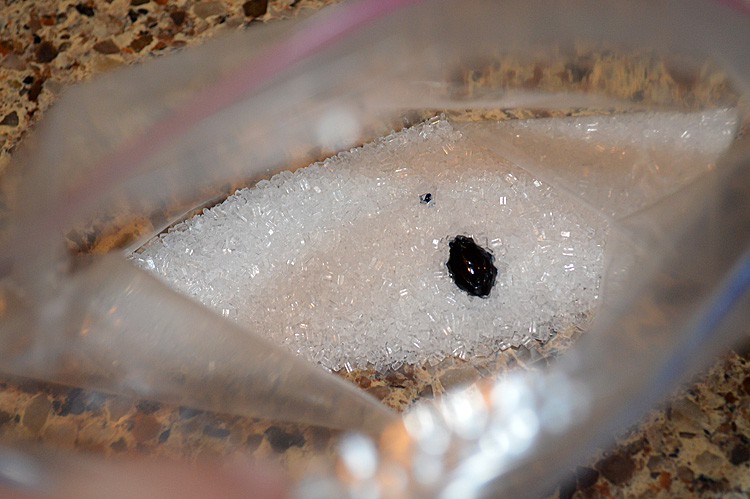
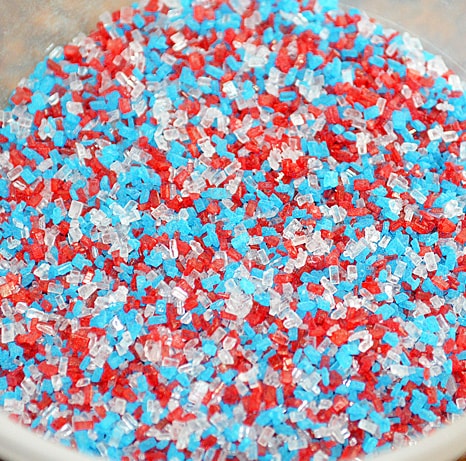
Now, let’s get to the sanding sugar. You can buy sanding sugar, or pre-colored organic sugar (India Tree brand), etc. That part is up to you. However, I decided to make my own. Using that same food coloring we have in the cake, I am about to show you just how easy it is to tint your own sugar!
In a small zip lock bag, add your sugar and a very small amount of color. You can always add, you can’t take it away. Too much of the liquid will make the sugar wet. Start conservatively and go from there. Zip the bag closed and just move the sugar around massaging the color into it. It takes a minute. If it’s too light, just add a tiny bit more color. Using a toothpick allows you to more easily control how much is added.
If you need to, you can add 1/8 tsp of Cornstarch to the mixture if it’s too wet. Keeping in mind that adding TOO much of this will not only make it more pastel in color, but it will lose it’s sparkle.
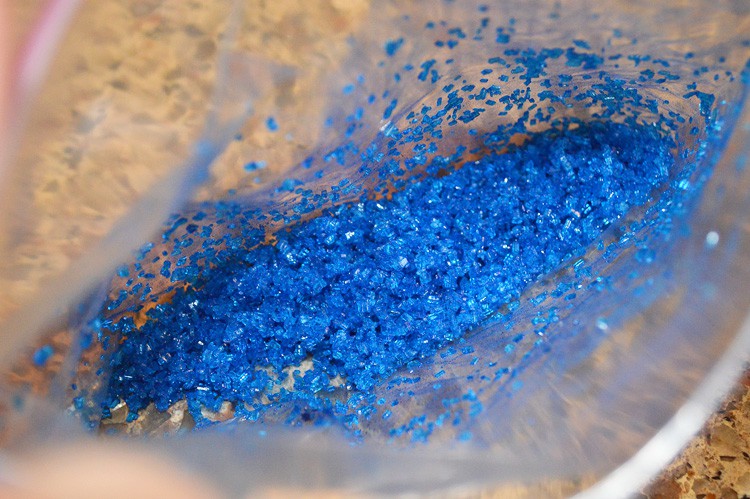
Spread it out on a plate and let it air dry. Move it around every once in awhile.
So now you’ll want to take a sharp knife, serrated is best, and trim all of the edges so they are even.
The top is just melted vegan white chocolate (again, check out Amazon if you can’t find it at your grocery or health food store). We topped it with our own homemade sanding sugar!
It’s nearly impossible to cut these into squares until the white chocolate sets up a bit, and even more so if it’s TOO set. What I do is place it in the fridge until it just starts to lose its shine. Then, I cut it into squares and return it to the fridge. Allow to come up closer to room temperature just before serving.
We divided the pan to get 5 slices in each direction, yielding 25 squares. The nutrition is based on this figure. You can do less or more, depending on your preference.
It really isn’t much more difficult to make these Independence Day Tri-Color Cookies than any layer cake you might try. They are moist, fruity and absolutely delicious! They are quite rich, but that’s why we save them for a celebration 🙂
Independence Day Tri-Color Cookies {Vegan}
Ingredients
- TO PREPARE THE CAKE PANS:
- Parchment and Cooking Spray
- *
- FOR THE CAKE BATTER:
- 2-1/4 C All-Purpose Flour
- 1-1/2 tsp Baking Powder
- 1/4 tsp Salt
- 1-1/2 C of vegan Sugar
- 1-1/4 C of vegan Margarine such as Earth Balance, at ROOM TEMPERATURE
- 3/8 C Unsweetened Applesauce
- 1-1/8 tsp Vanilla Extract
- 3/4 C plus 3 Tbl Almond Milk
- Red and Blue vegan Food Colorings
- *
- FOR THE FILLINGS:
- 7 oz . red Jam I used Cherry, but you could use Raspberry
- 7 oz . Blueberry Jam
- *
- FOR THE TOPPING:
- 8 oz . vegan White Chocolate
- Colored Sanding Sugar in red and blue or you can make your own
Instructions
- Preheat oven to 350 degrees.
- Prepare three 8'x8" cake pans with a small amount of cooking spray followed by parchment. Allow for some overhang. This will help you to remove from the pan.
- In the bowl of an electric mixer, combine all of the ingredients for the batter.
- Divide evenly between the three BOWLS. I used a kitchen scale.
- Tint one red, one blue and leave the other uncolored.
- Transfer each to a prepared pan.
- Bake for 20 minutes or until the edges are slightly golden brown and a toothpick inserted comes clean. Cool completely in the pan.
- Once all three are cool, spoon 7 oz. of cherry jam into a bowl. In another bowl, the blueberry jam. Microwave for just a few seconds to loosen them up to spreadable consistency.
- The blue layer is our base. Still in the pan, spread the cherry jam over this layer. Top with the vanilla layer. Top this with the blueberry jam. Finally, top with the red layer. Cover with plastic wrap and using your pan, press gently to adhere all the layers. Leave the pan in place and put a heavy can on top. Refrigerate for several hours, better if you can do it overnight. This allows the flavors and layers to bind.
- Remove from the refrigerator and melt the white chocolate in the microwave in 30 second intervals. Stir each time. Spread onto the top of the red layer and top with your red, white and blue sprinkles (see the post if you are making your own).
- Refrigerate until white chocolate begins to set. Cut into 25 squares and return to the refrigerator allowing to chill until serving. You could even cut them smaller if you wish.



dina says
it’s so festive!
Monica says
Looks great and pretty simple!! 🙂 if I wanted to make this into the italian layer cookie would I follow the directions in this recipe?
Can’t wait to try!
aimee says
Hi Monica, you can get the original version here: http://theveglife.com/italian-tri-color-rainbow-cookies-vegan/
Cynthia says
Is vegan white chocolate available other than by mail?
aimee says
Yes 🙂 I don’t know where you live, but I found some at Walmart, Whole Foods & Sprouts Markets. Just be sure to read the ingredients.